Easy Yarn Christmas Garland DIY
It’s that time of year where I start making those cute Christmas crafts. Making these little DIY crafts gets me in the holiday spirit!
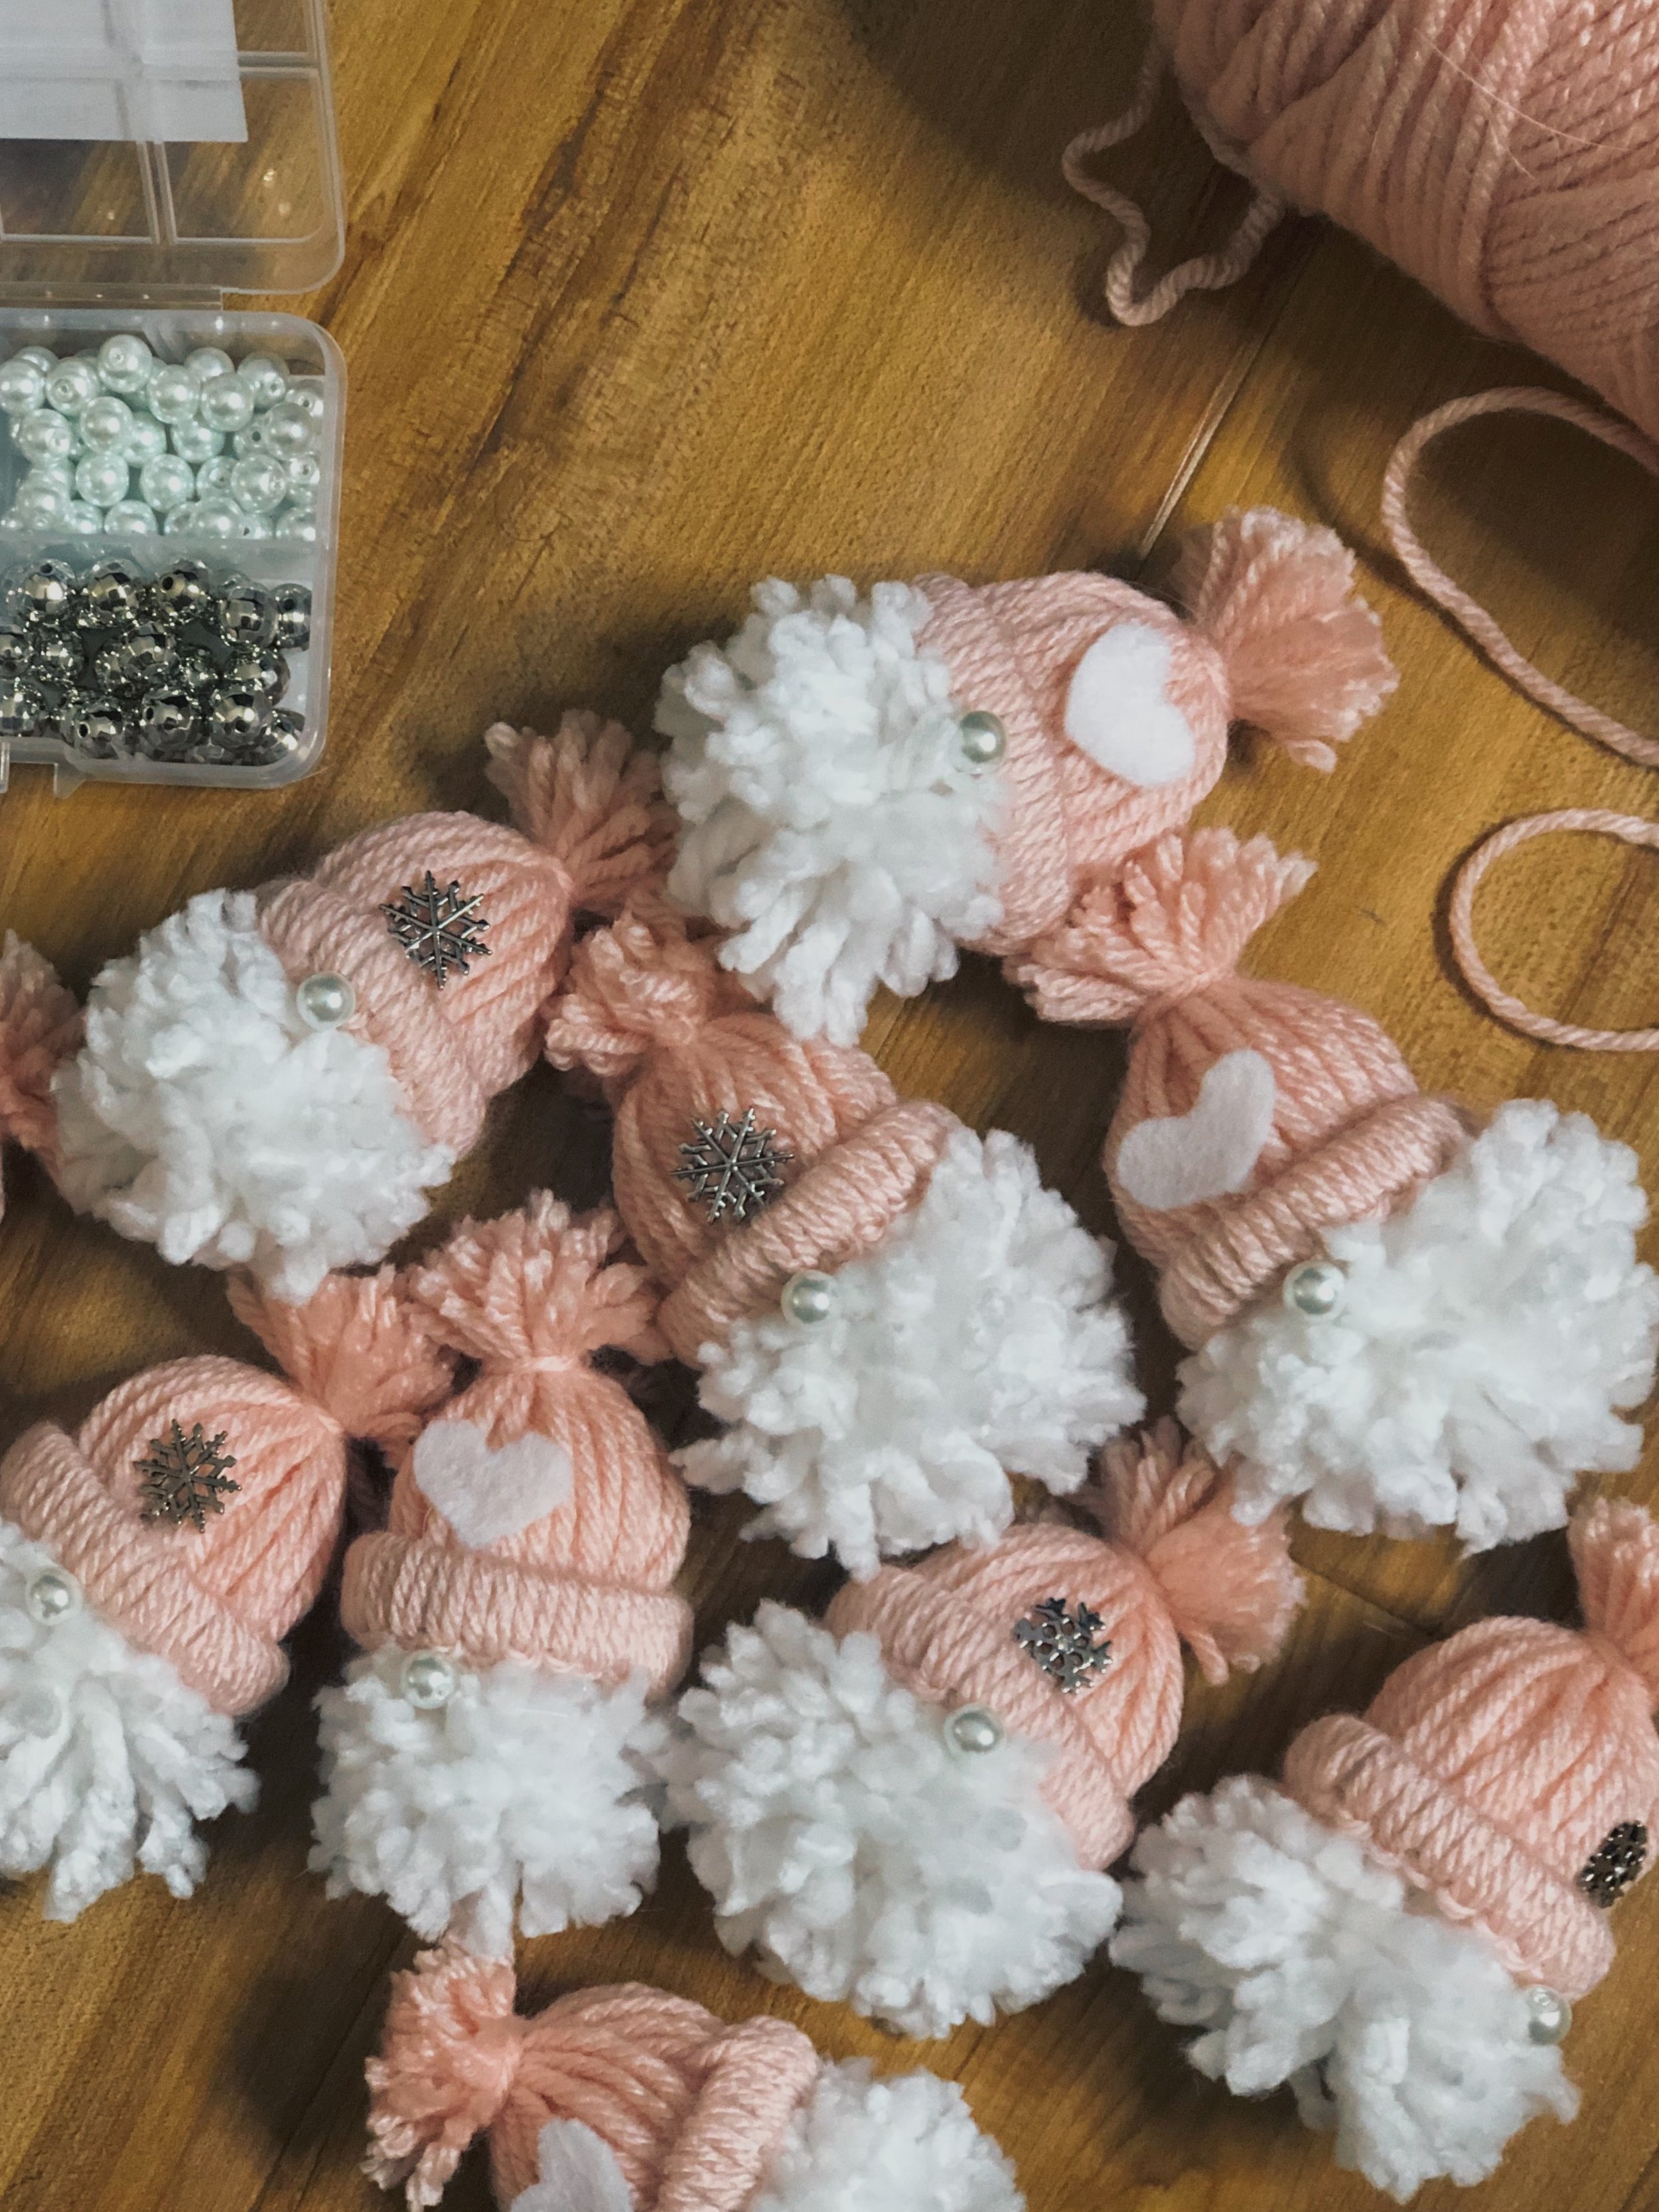
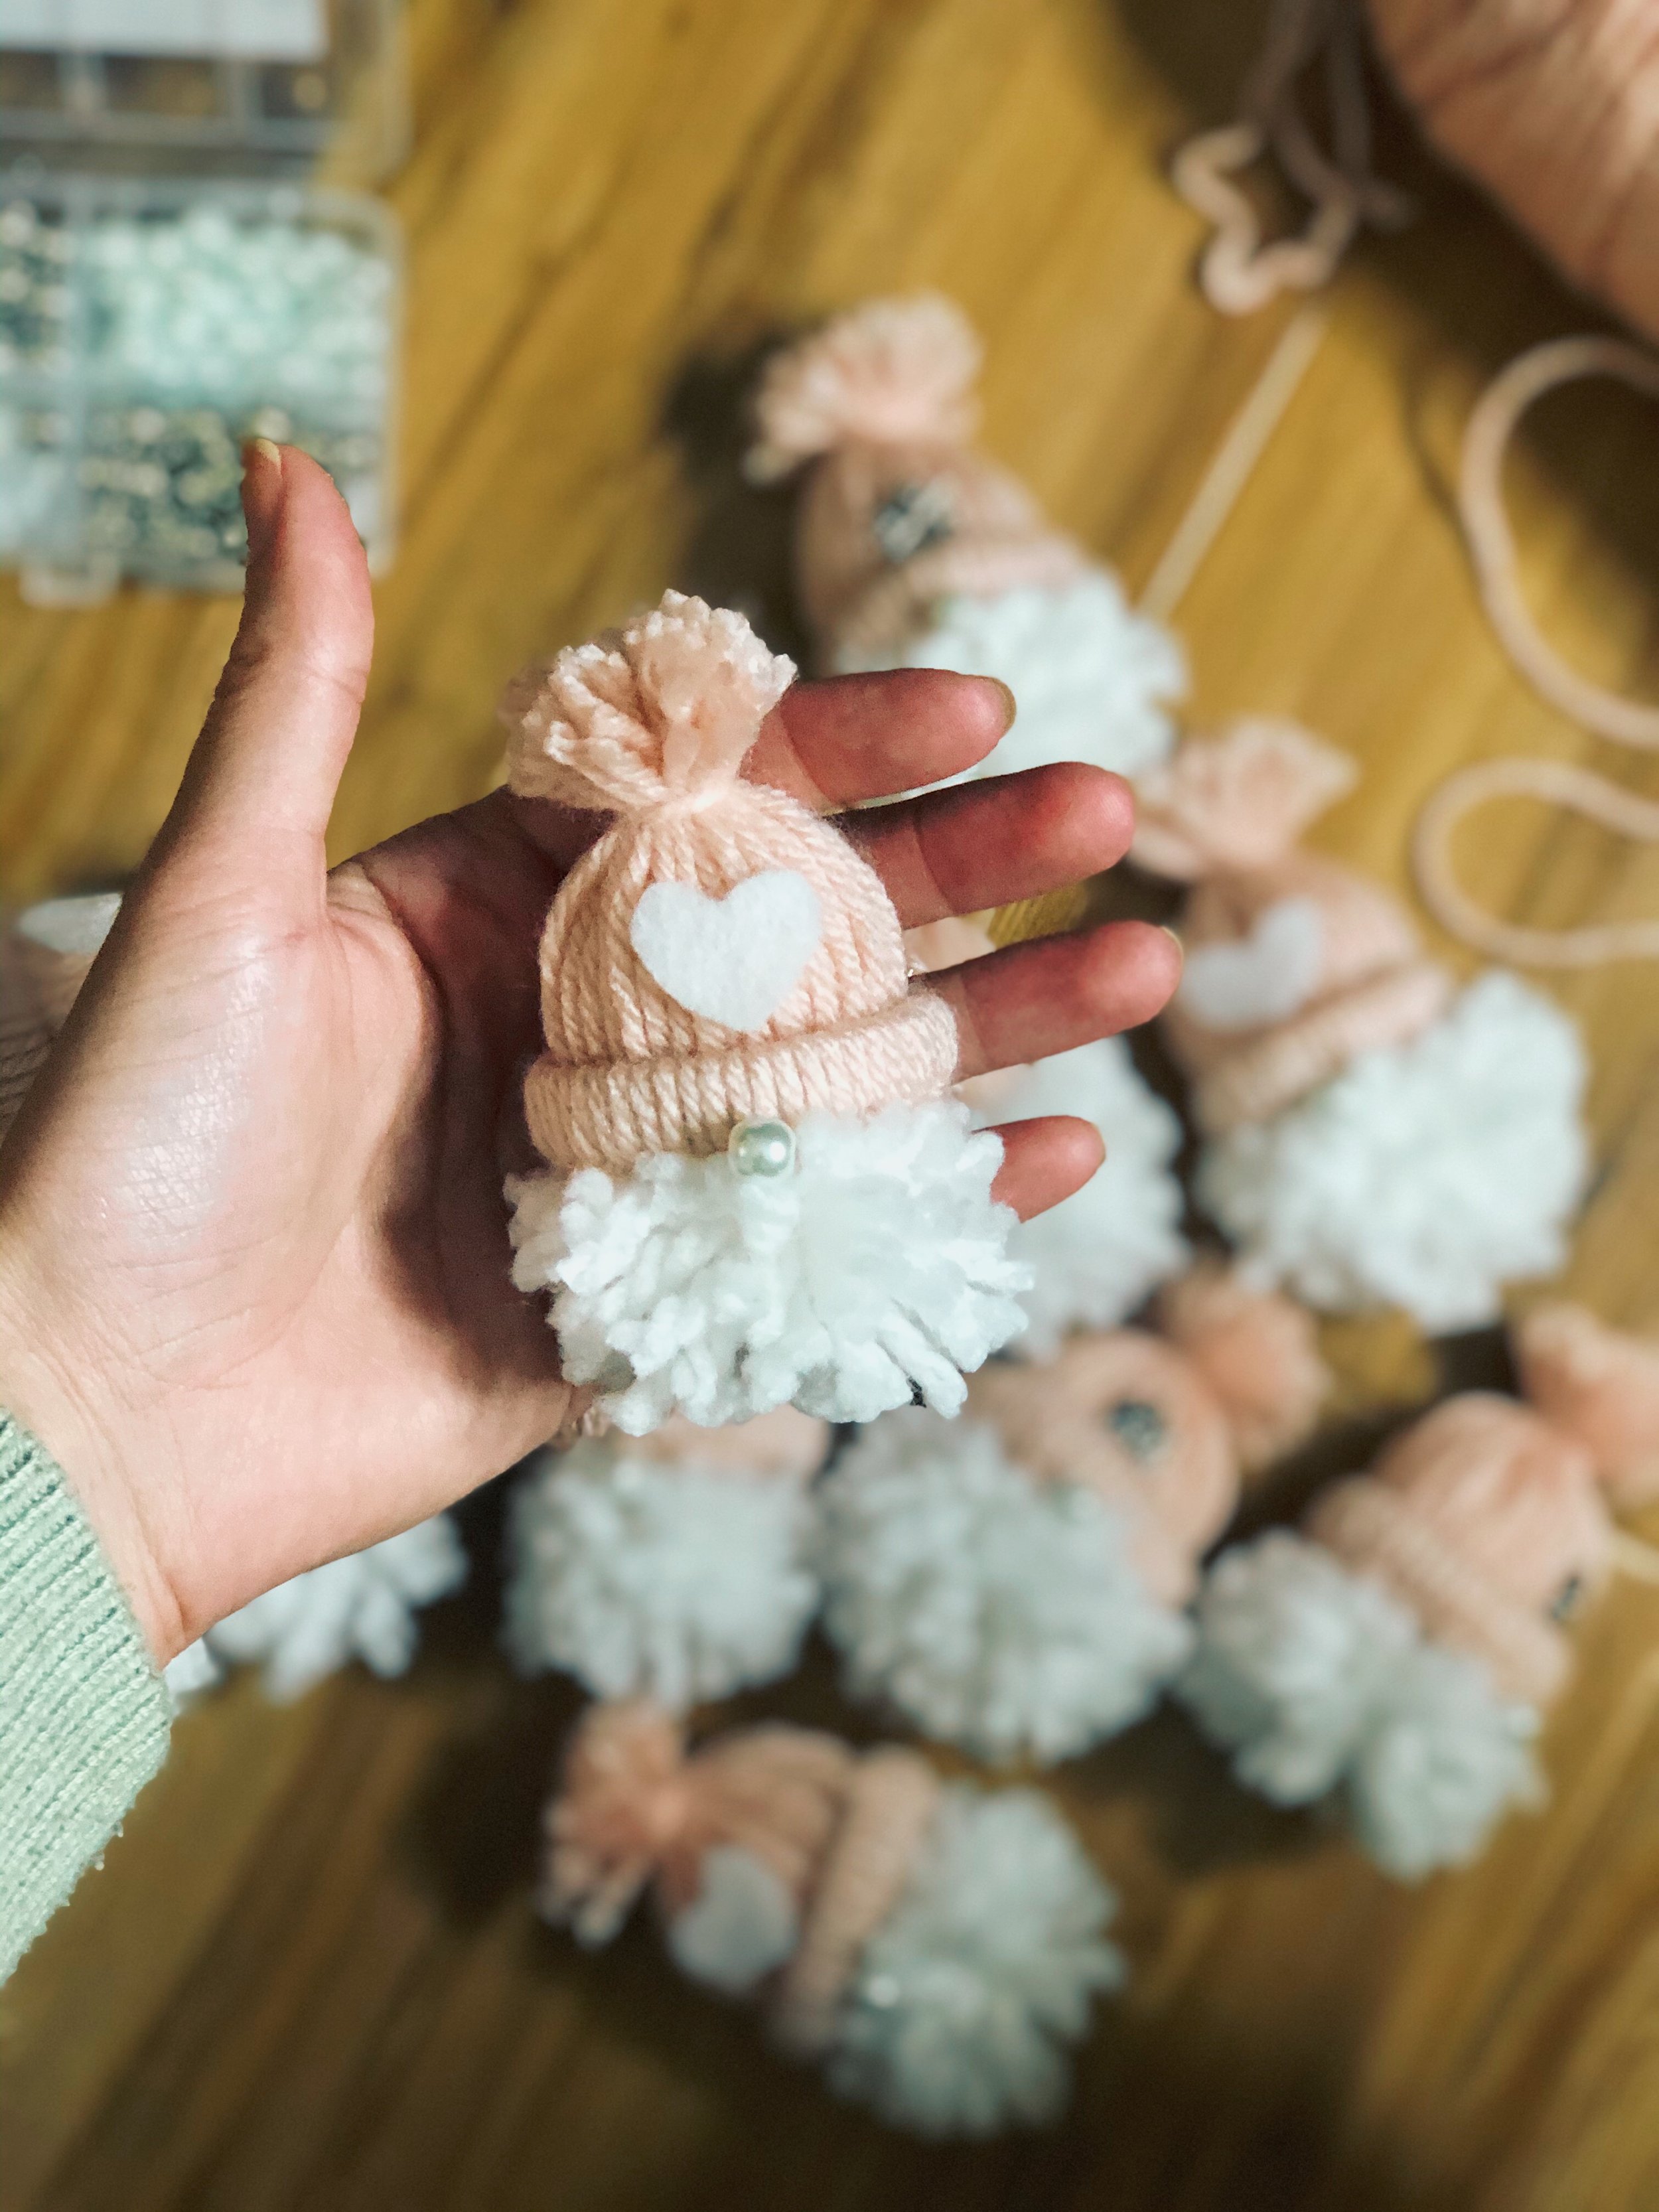
This is a simple DIY that you could do for the Holidays! I wanted to make something that was cute, easy and only needed a few items to make it. This DIY yarn Christmas garland is something that you can customize to make your own; change up the color of the hats, use a different ball for the nose, the list goes on!
SUPPLIES:
Scissors
Empty toilet paper roll
Hot glue gun
Cotton balls
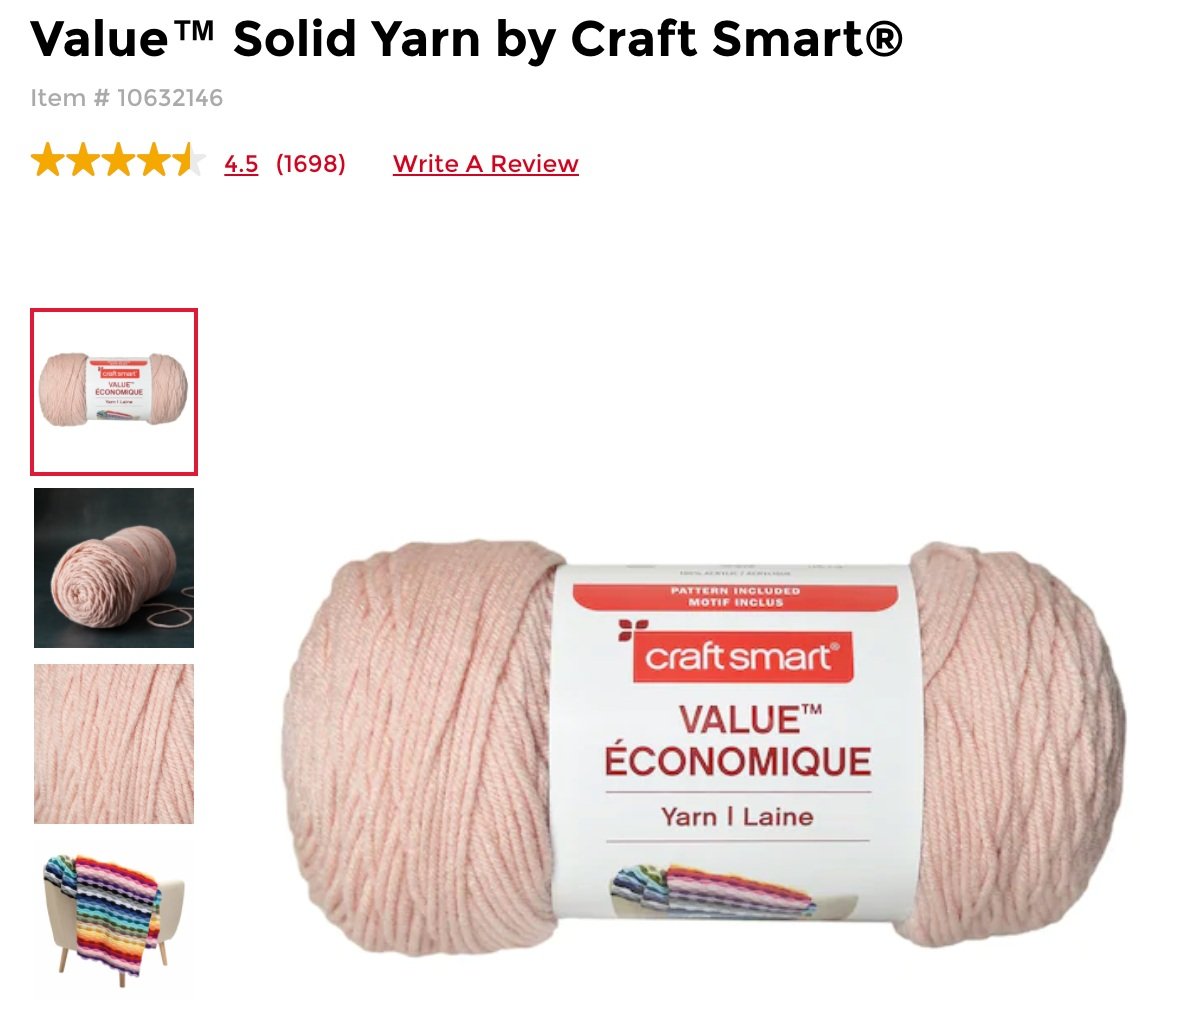
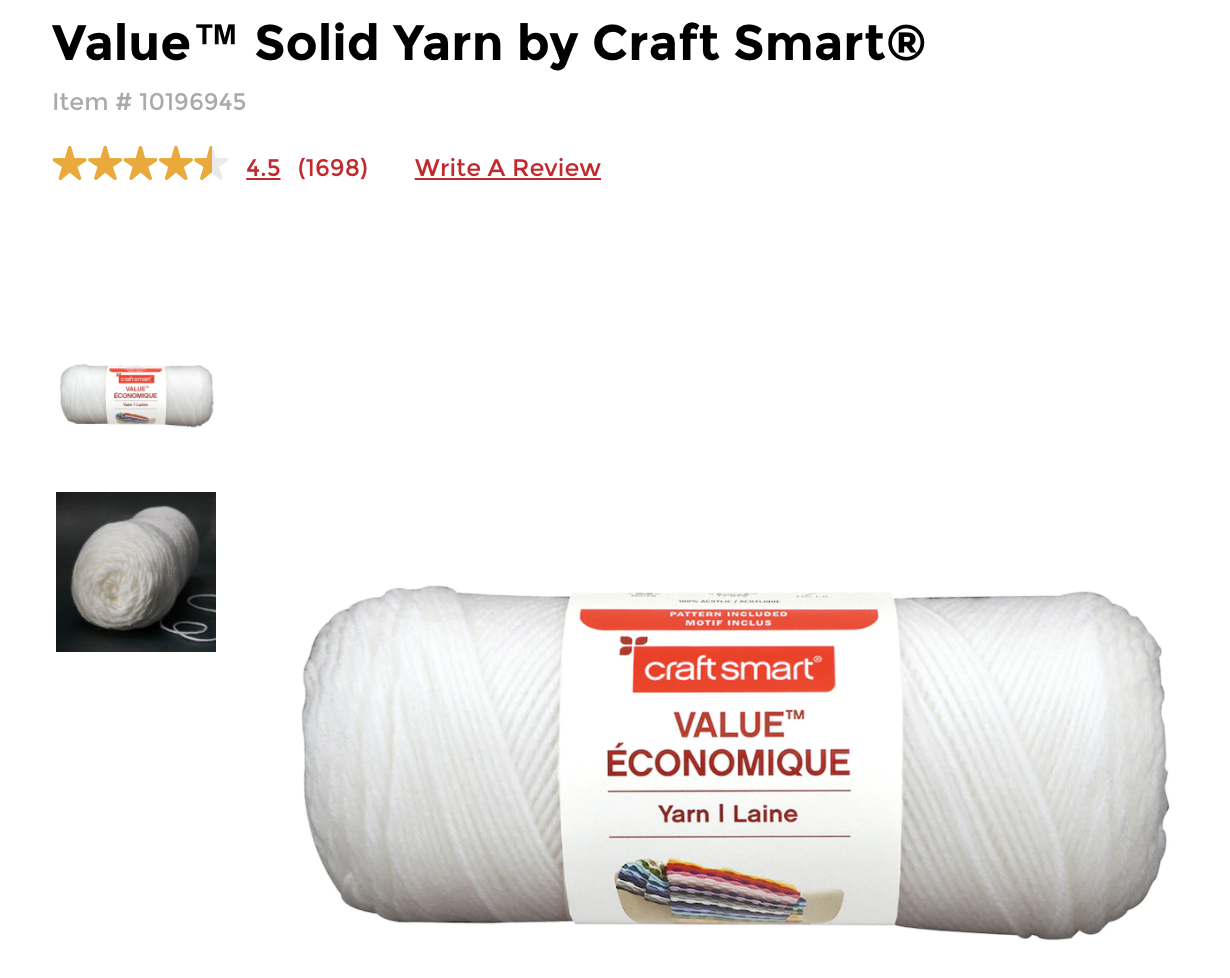
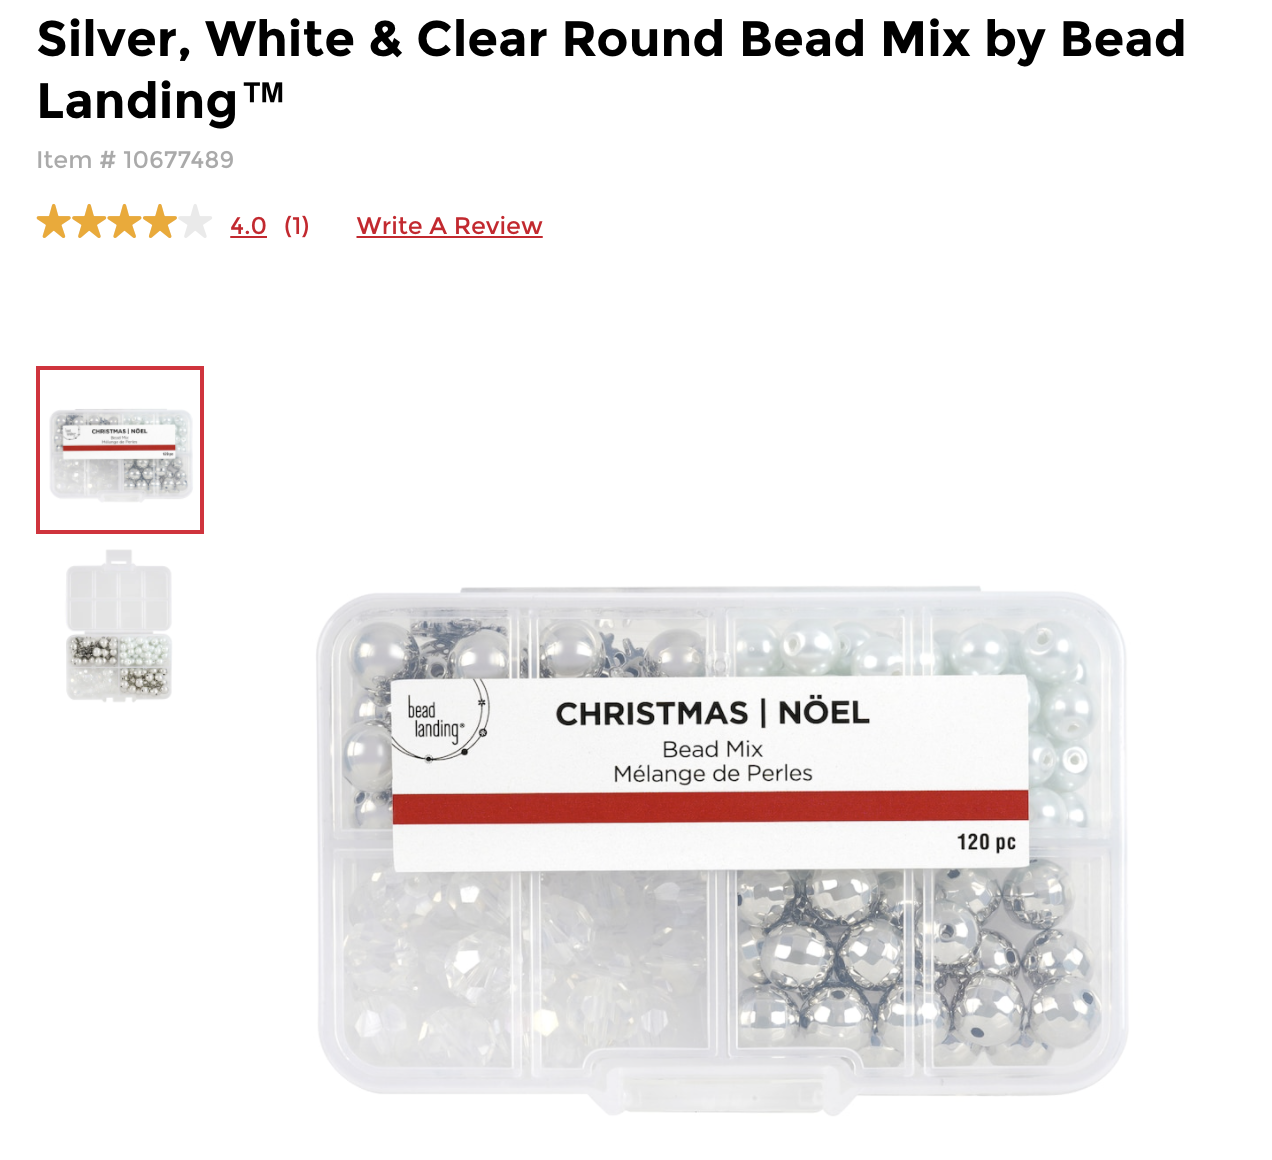
BONUS: If you want to decorate the hat you could get felt to make little hearts like I did. Below I linked each product I used.
Step 1: Take the empty toilet paper roll and cut it into little strips to make little rings.
Step 2: Take the pink yarn and wrap it about 15-20 times around a small notebook. You’ll then have a circle of yarn, which you will cut in half. This will give you several strands of yarn.
Step 3: Take those pink strand and loop them around one of the strips you made from the toilet paper roll.
Step 4: Once the toilet paper roll is completely covered with yarn, loop the strands through the toilet paper ring and stuff a cotton ball inside while you hold the end of the pink strands. Then tie the top of the strands and cut them down to make the little poof on top of the hat.
Step 5: Take the white yarn and wrap it around a big wooden spoon (or something around that size), about 40 times.
Step 6: Then take a separate white strand and wrap it around the entire roll you made and tie a knot and cut the roll in half so that the knot is in the center.
Step 7: Trim the white yarn and to make a little white fuzzy ball “beard”
Step 8: With a hot glue gun glue the beard to the hat.
Step 9: Take a bead and glue it right under the brim of the hat onto the beard.
Step 10: Decorate the hat and glue either a white felt heart, a snow flake or any other decoration you’d like. String them together and wah-lah it is complete!
